
Showing posts with label DIY/ Mods. Show all posts
Showing posts with label DIY/ Mods. Show all posts
Saturday, April 29, 2023
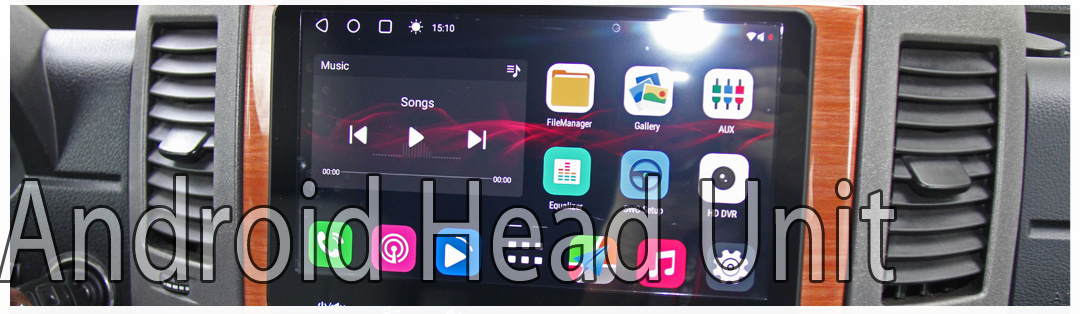
Wiring Android Head Unit to Coach Batteries
Wednesday, April 19, 2023
Installing Dash Accessory Fuse Block Powered by Coach Battery

Finding a suitable placement for the fuse block is not as simple as you might assume; there is barely enough space beneath the dash to put a good-sized fuse block. You could place one over the dash plastic trims, but that would look unprofessional.
Thursday, February 2, 2023
ML-ACR and DC-to-DC Charger Transfer Relay with Time Delay Start

The changeover/transfer relay only activates one charger at a time, either the ACR or the DC-DC, turning them on at the same time could cause some issues down the road. I also added a time delay relay for the DC-to-DC charger D+ trigger so that it does not immediately turn on as soon as the engine is started. I added a 3-minute delay (user selectable) to allow the chassis voltage to stabilize before starting the DC-to-DC charger. Here's how I did it.
Saturday, January 28, 2023
Replacing/ Upgrading Sprinter Door Speakers, and Dash Tweeters. Installing Sound Deadener on Cab Floor

The new speakers have a much better dynamic range and a deeper bass response. I also replaced the tiny dash tweeters and was very pleased with the upgraded speakers. Here's how to change them.
Sunday, January 22, 2023
DIY DC-to-DC Chassis Battery Trickle Charger (Trik-L-Start Alternative?)
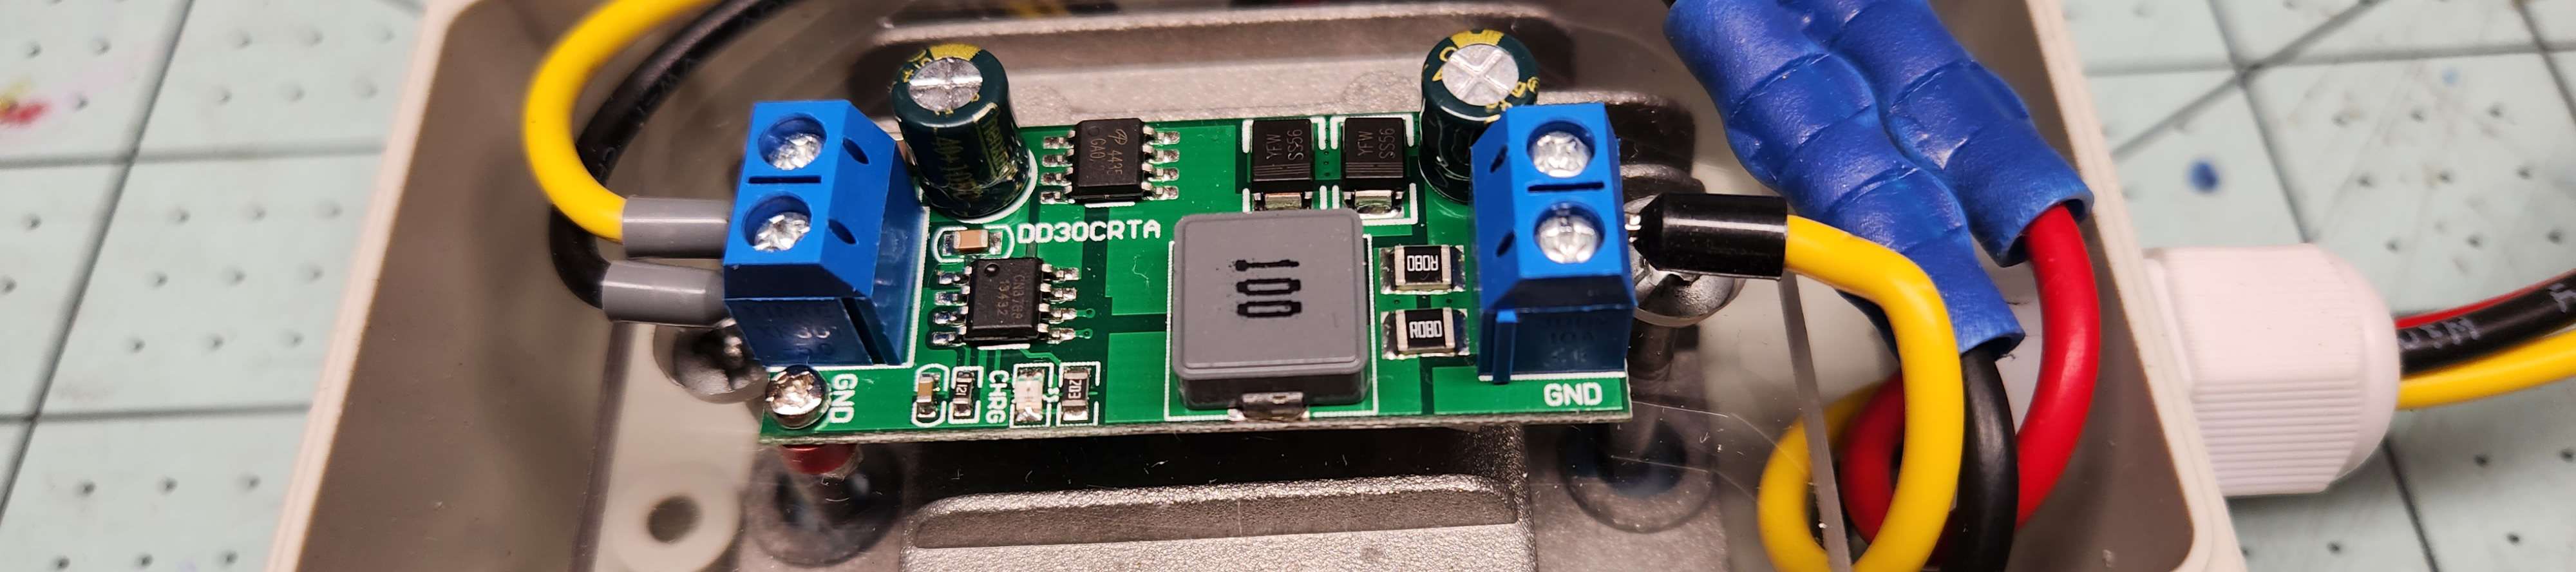
You've probably heard that the Trik-L-Start DC-DC battery trickle charger has been discontinued, the only commercially available alternative is the Echo 15-Amp Charger by Xantrex. The Echo Charger is quite expensive at around $150 and only compatible with lead acid batteries.
I wanted to add a chassis battery trickle charger from my Solar Charge controller's auxiliary output but couldn't find an inexpensive low current DC-DC trickle charger for my application. The Trik-L-Start trickle charger would have been ideal, but they are no longer sold, necessitating the DIY approach. With the addition of a battery protection module to the circuit, it will mimic the Trik-L-Start trickle charger and can be adjusted to start/stop charging depending on the source voltage.
Sunday, January 1, 2023
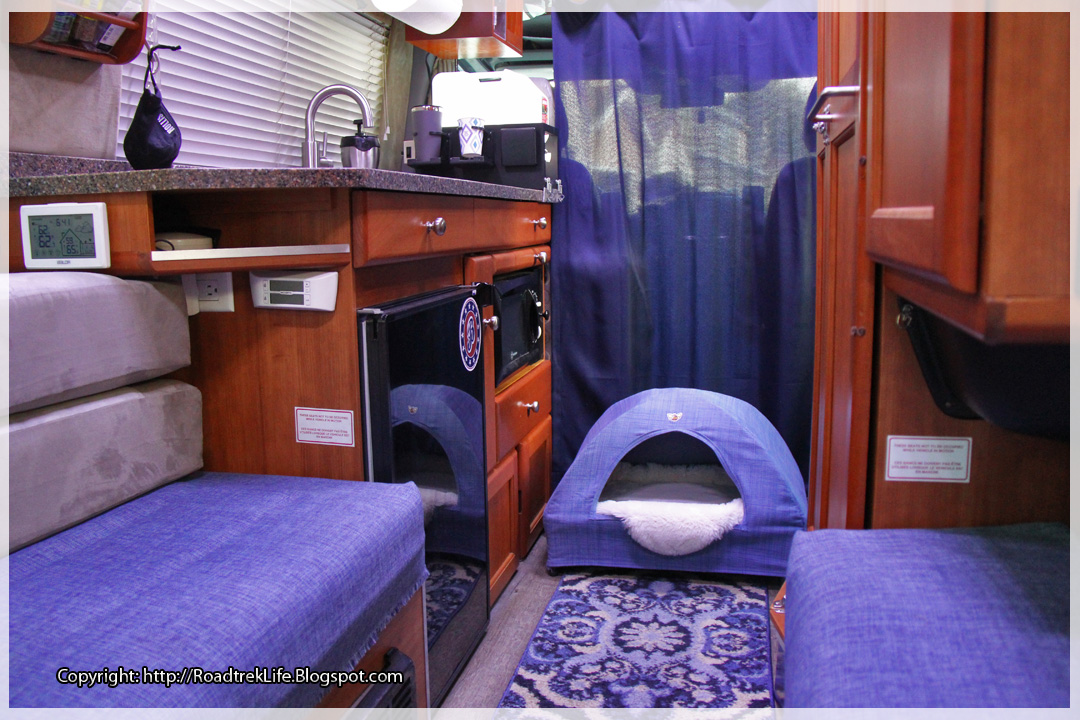
DIY Foldable Insulated Tent Bed for Mom's Fur Baby

Thursday, November 24, 2022
Macerator Emergency Extension Hose

I always keep a macerator hose extension on hand in case the sewer connection required extra reach. Although it is uncommon for campgrounds to place sewer connections far back from camp sites, I have seen it on occasions.
The Thetford Sanicon 21-ft Retracting Hose is ideal for extending the reach of your macerator hose; it is also available in a shorter 10-foot version. The 28-footer costs around $81 and the 10-footer costs around $38. I made my own extension using a Flexible PVC flat hose with a Polyester sleeve, similar to a fireman's hose, for a more compact and less expensive alternative.
Saturday, February 12, 2022
Installing an On-Board Air Compressor (Maxi Trac)

Sunday, January 16, 2022
Renogy DC-to-DC Battery Charger Installation

According to Mercedes Body and Equipment Guidelines for 2018 Sprinter and older, it states that the maximum charging current for the auxiliary batteries should not exceed 40-Amps. For now, our current AGM coach batteries will benefit from the DC-to-DC charger as it will receive a proper 3-stage charging (bulk, absorb, float) while driving or idling.
Saturday, March 27, 2021
Motorized City Fresh Water Tank Fill Valve with Automatic Fresh Water Pump Control

Like many Roadtrek RV models, the RT Agile has two options in getting their fresh water tank filled, either via gravity fill port located on passenger side door B-pillar or via the city water hookup. I mostly use the city water connection just because it is on the same side where the macerator dump is, and most dump stations/ campgrounds are set up this way.
Filling the fresh water tank via city water hookup involves few steps and this mod drastically shortens those steps. To fill the fresh water tank, all I have to do now is flip a switch then hookup the city water…and that’s it. No more walking around the RV, opening the sliding door, reaching and manually opening the fill valve, then doing same process in reverse once the tank gets full.
Monday, October 29, 2018
Driver Operated AC/ Furnace Remote Thermostat Switch

Thursday, August 30, 2018
"Scooler", A Custom Built/ DIY Electric Riding Cooler

"Scooler" at the beach.
I need a new roto-molded cooler but I do not like the idea of manually hauling it around as they are heavy, so it got me thinking...why not make it a riding cooler? I later found out that you can actually buy one of these riding coolers; they’re not cheap though not to mention the inefficient coolers they use. Amazon sells the "Crazy Cooler" with 4-stroke 2HP engine.
Tuesday, April 24, 2018
DIY Water Leak Alarm with Automatic Water Pump Disconnect Relay

Things you need for this project (clicking on the links will take you to Amazon):
· Rain sensor module with relay control
· Automotive heavy duty 5-pin 40/30-amp relay
· 16 or 14- gauge wires
· 2-3 feet of smaller gauge wires for the sensor
· 12-volt Piezo Electronic Buzzer Alarm
· Project enclosure
· SPST switch
· Cable gland (optional)
Tuesday, January 16, 2018
DIY Hitch Mounted Step with Spare Key Vault and Auxilliary Backup Light Combo

The hitch mounted step is made from 1/4 inch steel. The Kawell waterproof LED light bar and the Trimax 5/8" receiver lock with resettable combination is from Amazon.
Monday, December 11, 2017
DIY Portable Power Station/ Jump Starter and Battery Charger with Bluetooth Stereo Speakers

Most of the parts used in this project were unused stuff and taking up garage space, the Walmart 12-volt battery was purchased last year to temporarily replace the original RT coach batteries that got fried during our summer road trip, the inverter is my old 750-watt Trip Lite Inverter/ Charger.
Obviously this is not for RV use, but can be a great power source while picnicking at the park, at the beach, etc. or just something to brag around, lol. It can also be used as a jump starter or a car battery charger. It has built-in 200-watts Bluetooth wireless stereo speakers, good for entertaining or annoying crowds at the park.
Tuesday, October 31, 2017
DIY Hitch Mounted Vertical Bike Rack/ Cargo Carrier that Does Not Interfere with the Rear Spare Tire

Friday, October 6, 2017
Installing Coach Battery Powered 12-volt DC sockets on Sprinter Dashboard

I installed 2 additional 12-volt DC sockets for charging our phones/ tablets/ cameras/etc. I wired the new sockets from the coach battery so as not to put extra drain into the starting battery when we are out dry camping. The additional sockets were installed on the outer sides of the dashboard top vents thus minimizing charging cables clutter hanging from the dashboard and interfering while driving. I opted for 12-volt DC sockets and use plug-in USB car chargers in lieu of surface- mount USB charger sockets for more universal mobile charging approach. Also replacing a malfunctioning USB charger with our setup would be much easier, not so with the surface- mount USB charger sockets.
Saturday, September 9, 2017
Replacing That Smelly Toilet Bowl in a Roadtrek Agile

My 2011 Agile came with a Thetford Aqua Magic V toilet which I've replaced twice with same model due to holding tank fume leakage around the flush valve assembly. The last replacement lasted about 2 years of use then it started to leak fumes again!
Thetford Aqua Magic V design is not very well thought-out IMHO; the space between the toilet bowl and the toilet outer casing/base is hollow and open to the black tank. Waste splatter can get stuck in that hollow space during flushing, very unhygienic. The flusher arm seal is also unreliable, it is basically sealed with packed grease. When grease seal starts to dry up, it starts to leak fumes from the holding tank especially when there is negative pressure inside the van like driving with windows open.
Sunday, August 20, 2017
Building a Wooden Shower Mat for the Agile

Thursday, June 1, 2017
Custom K-Cup Coffee Brewer Station
The stock 120-volt coffee maker was replaced with 800-watt Aicok Single-Serve K-cup coffee brewer. The Aicok runs off our 1000-watt Magnum Inverter/Charger. There is no initial current draw spike, it consistently pulls around 765 watts (@120 volts) for about 2 minutes (heating an 8-oz. water), then current draw drops to about 4.2 watts with the pump running to percolate the heated water through the K-cup pod. The brewer automatically shuts-off when brewing cycle is finished. We really like this brewer; it is easy to use, and easy to clean/ maintain. The unit is relatively compact in design measuring about 3.94"W × 8.66"D x 9.45"H. Aicok customer support is also very responsive and helpful, a big plus in my book.
The brewer station with built-in slider is made from 1/2" Birch plywood with edge treatment using hardwood stock; it's then stained to match the existing cabinets. To prevent the brewer from sliding out while underway, a Decorite 5838 push latch was used. The clear door and the hinges are made out from Acrylic plastic. A strong magnetic latch holds the door closed, the small cubby is perfect for storing K-cup pods.
Amazon link for the Aicok Single-Serve K-cup Coffee Brewer, you'll also find reviews, specs, and pictures of the brewer in the link provided. Enjoy your coffee!
Note: If not for the size limitation, I probably have bought the 700-watt Keurig In Room Coffee Brewer instead. The Keurig In-Room is about 1.6 inches taller than the Aicok and will not work with my setup. I have a 2.5 gallon water holder located under the coffee-maker and the extra height of the Keurig makes it impossible to load/ unload the 2.5 gallon water container into the DIY holder.

Subscribe to:
Posts (Atom)
